Denver Siding Replacement: What It Costs in the Suburbs and What Your HOA Will Approve
You searched for something about Denver siding. You probably don’t live in Denver.
That’s not a guess about you specifically — it’s what the search data looks like across this whole market. People type the nearest big city because that’s how you search for a contractor. The homeowner in Highlands Ranch, Littleton, Parker, Centennial, Broomfield or Arvada types “Denver” and means “somewhere a Denver company would drive to.”
So this isn’t about Denver proper. If you own a brick bungalow in Park Hill or a Denver Square in Wash Park, we cover siding on Denver’s older brick and bungalow housing stock separately, and it’s a genuinely different conversation — different materials, different failure points, and in some neighborhoods a landmark review process.
This is about the suburbs. Specifically, it’s about the thing that’s happening right now across every subdivision built between about 1990 and 2005: the original siding is failing, all of it, at roughly the same time.
Why Your Whole Neighborhood Is Re-Siding at Once
If you’ve noticed more siding trucks on your street the last couple of years, you’re not imagining it.
Suburban Denver subdivisions were built fast and built in batches. One builder, one or two floor plans, one siding spec, one window of a few years. Which means the houses on your block are not just similar — they are, for practical purposes, the same house with different paint.
They also fail on the same schedule.
Most builder-grade siding from that era has a real-world service life of roughly 25 to 30 years in Colorado. A subdivision finished in 1998 hits that wall around now. Your neighbor isn’t re-siding because they came into money. They’re re-siding because they got a bad inspection or found a soft spot, same as you’re about to.
The Colorado climate accelerates it. Intense UV at altitude, a daily freeze-thaw cycle for months at a time, hail, and very low humidity that pulls moisture out of wood-based products until they cup and split. Materials that last 40 years in Ohio don’t get there here.
What the Builders Actually Used
The specs varied, but the common ones in this market were:
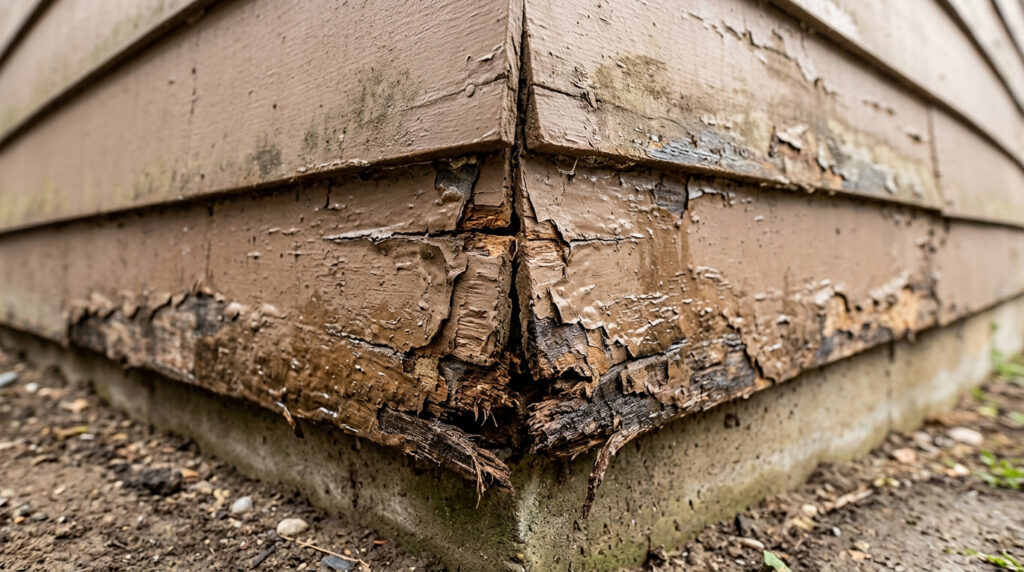
- Hardboard lap siding (Masonite and similar pressed-wood products). Fails from the bottom edge up. Swells, delaminates, and holds water at every butt joint.
- OSB-based engineered lap. Better than hardboard, still wood-based, still vulnerable at cut edges and penetrations.
- T1-11 and plywood panel. Common on rear elevations and gable ends.
- Early vinyl. Doesn’t rot, but gets brittle with UV exposure, fades unevenly, and cracks on hail impact.
- Cedar. Holds up longer but demands paint or stain on a cycle most homeowners stop keeping after year ten.
How to Tell Yours Is Going
Walk the house. Look for:
- Swelling or a fuzzy, delaminating texture along the bottom edge of boards
- Soft spots at butt joints — press with a thumb, it shouldn’t give
- Paint failing in patches rather than fading evenly
- Woodpecker holes, which show up in hardboard and engineered products far more than in fiber cement
- Gaps opening at trim, corners, and window surrounds
- Any staining or bubbling on interior drywall below a window
The last one means water is already inside the wall, and that changes the timeline from “planning” to “now.”
What Siding Replacement Actually Costs Here
Almost nobody in this industry will publish numbers. We’re going to, with the caveat that every house is different and a real number requires someone standing in your yard.
Costs are quoted per square. One square is 100 square feet of wall area — not floor area. This trips people up constantly. A 2,500 square foot two-story might have 2,000 to 2,200 square feet of actual siding, because the footprint is smaller than the floor plan and because a lot of suburban homes have brick or stone on the front elevation and siding on the other three sides.
Two ranges, depending on scope:
Standard replacement — $15 to $20 per square foot. Full tear-off, weather-resistive barrier, James Hardie fiber cement siding with ColorPlus finish from the Statement Collection, trim, and flashing. Existing sheathing is sound and stays.
Upgraded or complicated — $20 to $25 per square foot. Same scope, plus one or more of: new sheathing, Dream Collection colors, or Woodtone finishes.
What that looks like on real houses:
|
SIDING AREA
|
STANDARD
|
UPGRADED / SHEATHING
|
|---|---|---|
|
20 squares (2,000 sq ft)
|
$30,000 – $40,000
|
$40,000 – $50,000
|
|
25 squares (2,500 sq ft)
|
$37,500 – $50,000
|
$50,000 – $62,500
|
|
30 squares (3,000 sq ft)
|
$45,000 – $60,000
|
$60,000 – $75,000
|
What Changes the Number
Four things move a quote more than anything else.
Sheathing. This is the big one, and it’s the one nobody warns you about. A lot of 1990s production homes were built without a proper structural nail base — the siding went over non-structural fiberboard, or over nothing but studs and housewrap. James Hardie requires a solid nail base. If you don’t have one, it gets added, and that’s typically 7/16″ OSB over the entire house.
You usually cannot know this until demo. We’ve opened up houses that looked completely ordinary from the street and found no compliant nail base anywhere on the structure. It’s the single most common reason a job moves from the standard range into the upgraded one — and see exactly what that looked like on a Highlands Ranch home, start to finish.
Color line. Statement Collection is the standard ColorPlus palette and it’s included in the base range. Dream Collection and Woodtone finishes cost more. If you want a wood look without wood maintenance, that’s where you end up, and it’s a real jump — not a small upcharge.
Trim complexity. Every window, door, corner, gable, dormer and bump-out is labor. Two houses with identical siding area can be thousands apart because one has eight windows and the other has twenty-two.
Stories and access. Two-story work means staging. A walkout basement elevation or a tight side yard means more setup time for the same square footage.
HOA Approval: What It Actually Takes
If your house was built in this era in this market, you’re almost certainly in an HOA with an architectural review committee. Plan for it. It’s not hard, but it has a clock.
Submit before you order material. Most associations require written approval before work begins, and some specify before materials are purchased. Ordering ColorPlus in a color that gets denied is an expensive mistake, because it’s a factory finish — it isn’t repainted on site.
Budget 30 days. Some committees meet monthly. If you submit the day after a meeting, you’re waiting until the next one. Ask when they meet before you submit.
Submit the whole package at once. Siding, trim, fascia, gutters, and anything else visible. Piecemeal submissions generate piecemeal questions and restart the clock.
What they usually want: color samples or manufacturer spec sheets, photos of the current elevations, and the product line you’re installing.
What they’re usually deciding: color and style, not product. Fiber cement is widely accepted across this market’s associations. The denials we see are almost always about a color that isn’t on the approved palette, or a style change the committee wasn’t expecting.
HOA approval is not a permit. They’re separate processes with separate timelines. Your contractor should be handling the permit; you or your contractor handles the HOA. Confirm which, in writing, before anyone starts.
Who does what. To be clear about our role: you submit the application, because most associations require it to come from the homeowner of record. We supply everything you need to fill it out — color samples, manufacturer spec sheets, product data, and the scope details the committee asks for. If they come back with questions, we’ll answer them.
We go through this routinely on siding, windows and decking in Highlands Ranch, on exterior work in Littleton, and on exterior remodeling in Greenwood Village.
Style Is on the Table
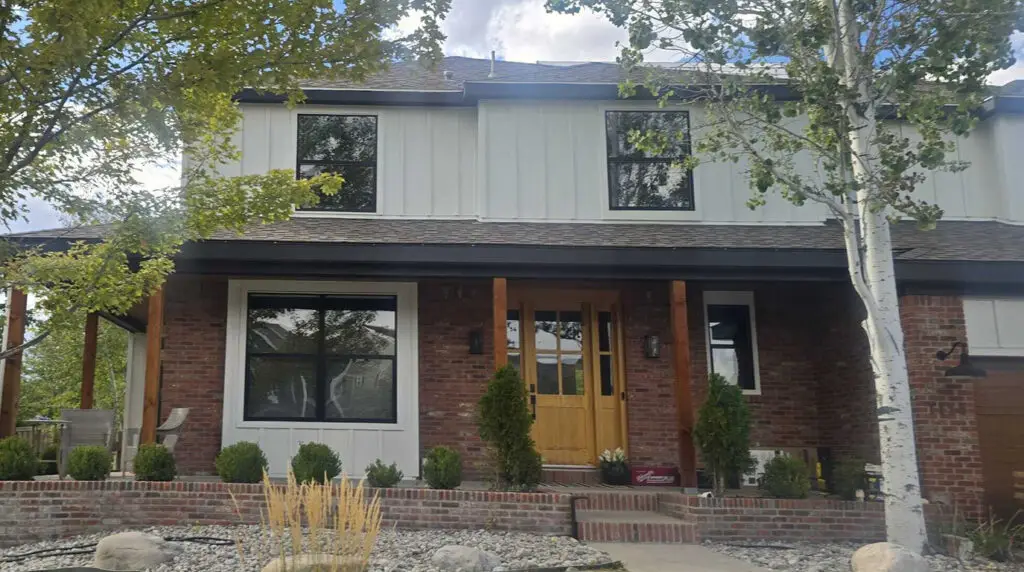
One thing worth knowing before you start getting quotes: replacing siding is the only time you can change what your house fundamentally looks like, and it usually costs no more in labor to change it than to match it.
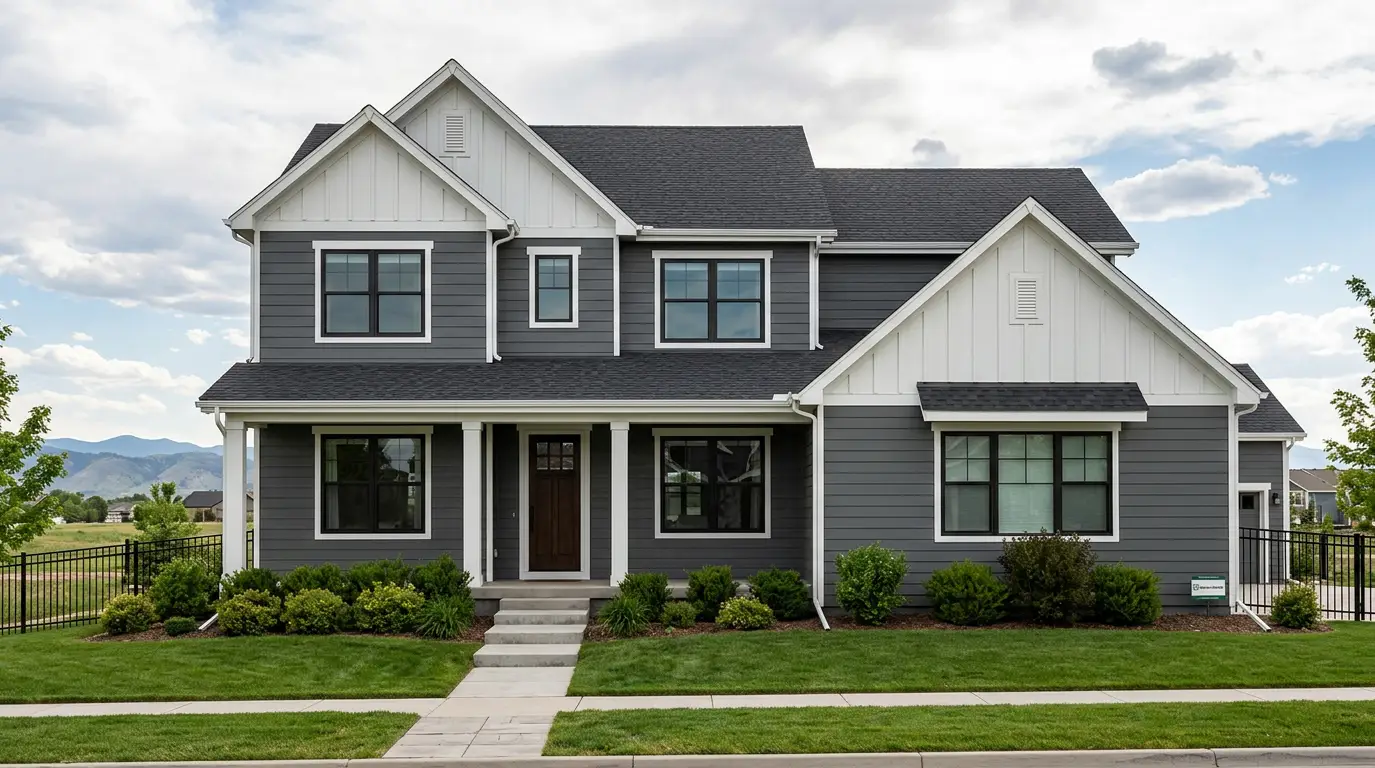
Subdivisions built in one batch look like it. Going from horizontal lap to board and batten, or switching to a high-contrast trim package, is the cheapest way to stop looking like the four other houses on your cul-de-sac. The material cost is comparable. The labor is comparable. The result is not.
If your HOA has an approved palette, work inside it — but inside most palettes there’s more range than people assume.
What to Do Next
If your house is from this era and you’re seeing any of the warning signs above, the sequence is:
- Get the house looked at and find out whether you have a compliant nail base. This determines your budget range more than anything else.
- Check your HOA’s meeting schedule and submittal requirements.
- Get quotes that specify sheathing, weather barrier, flashing, and color line — not just square footage and a price.
A quote that doesn’t tell you what’s going behind the siding isn’t a quote you can compare.
We handle exterior remodeling across the Denver metro and the surrounding suburbs, and you can see our full range of siding services for what’s involved. When you’re ready, request a free estimate and we’ll tell you honestly what needs doing now and what can wait.